> ## Documentation Index
> Fetch the complete documentation index at: https://crossmint-wallets-docs-2-5.mintlify.site/llms.txt
> Use this file to discover all available pages before exploring further.
# Register External Collection
> Import custom and/or third party contracts
The first section of this guide is EVM specific. For Solana, we support the metaplex standard. Importing a candy
machine is very similar. Jump below for specific details about [importing a Solana candy
machine](/payments/guides/register-collection#solana-candy-machine).
## EVM Smart Contract Requirements
Please note that currently only importing EVM and SOL primary contracts is self-serve. If you wish to import EVM or
SOL secondary contracts, or Aptos and Sui contracts, please [contact
sales](https://www.crossmint.com/contact/sales?utm_source=devrel\&utm_medium=docs\&utm_campaign=backlinks). For Xion
blockchain contracts, please refer to our [Xion Contract Requirements](/minting/advanced/xion-contracts)
documentation.
## Import a Custom Contract
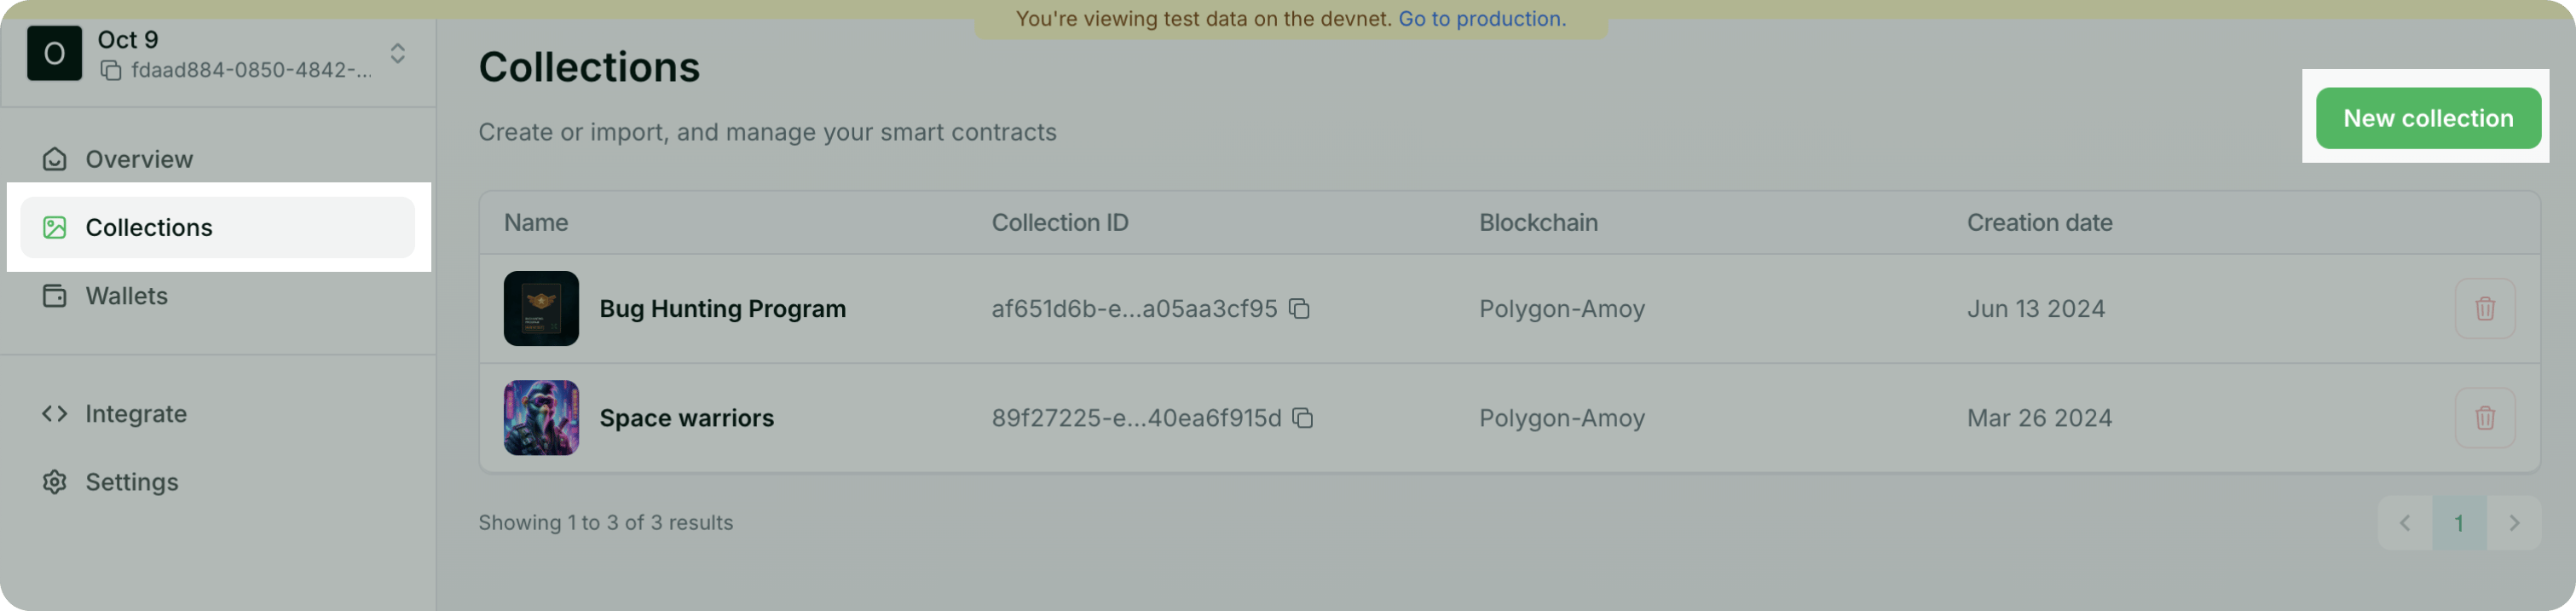 This information is displayed in the Hosted Checkout, Storefront, and Claim pages. You can edit it later.
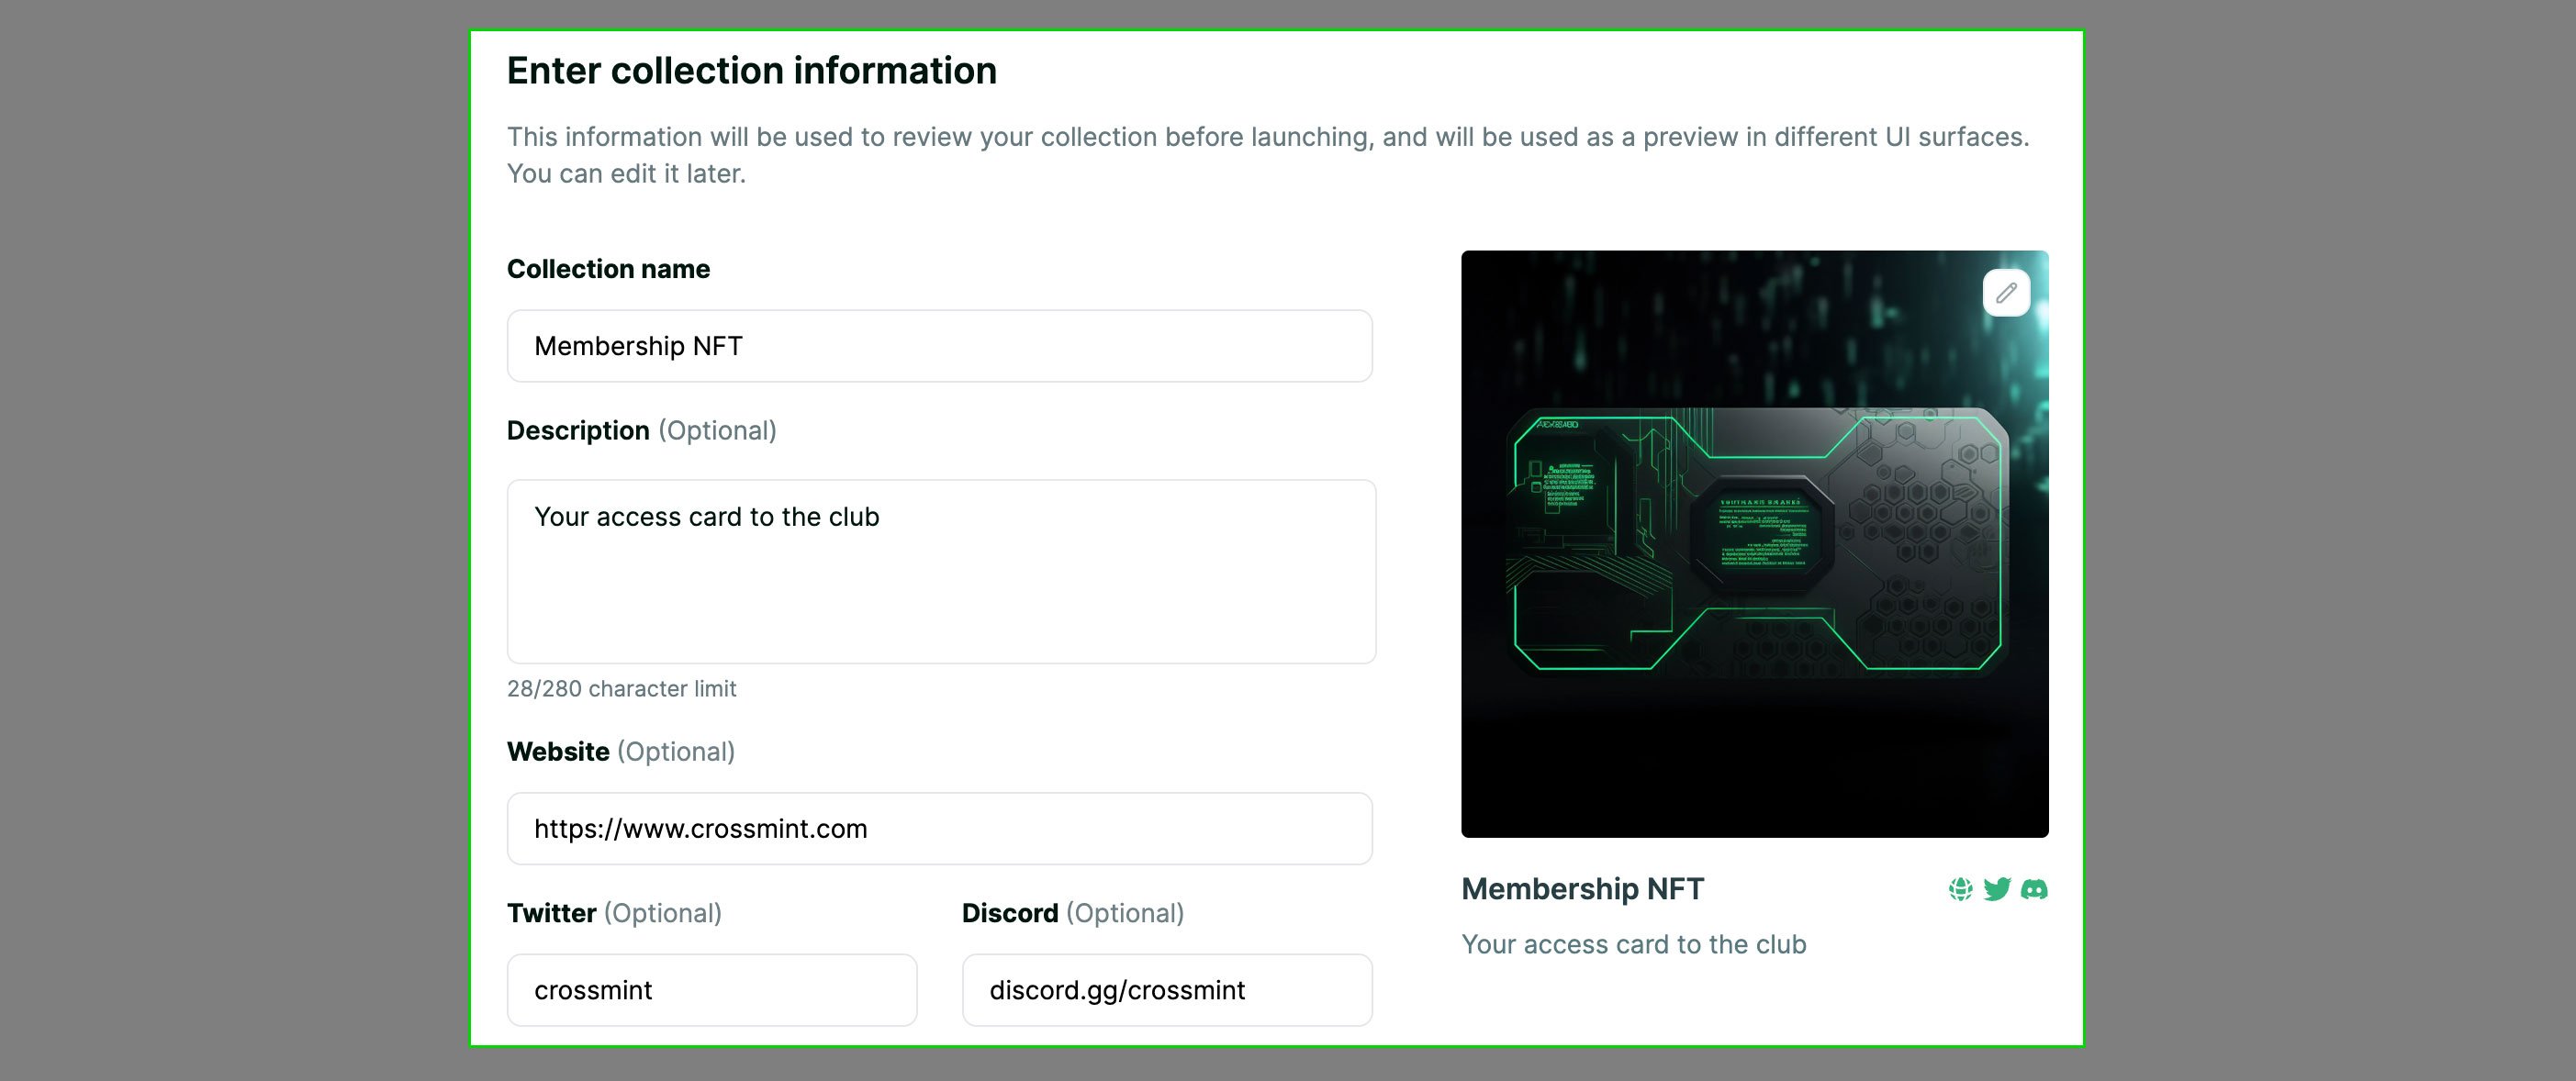
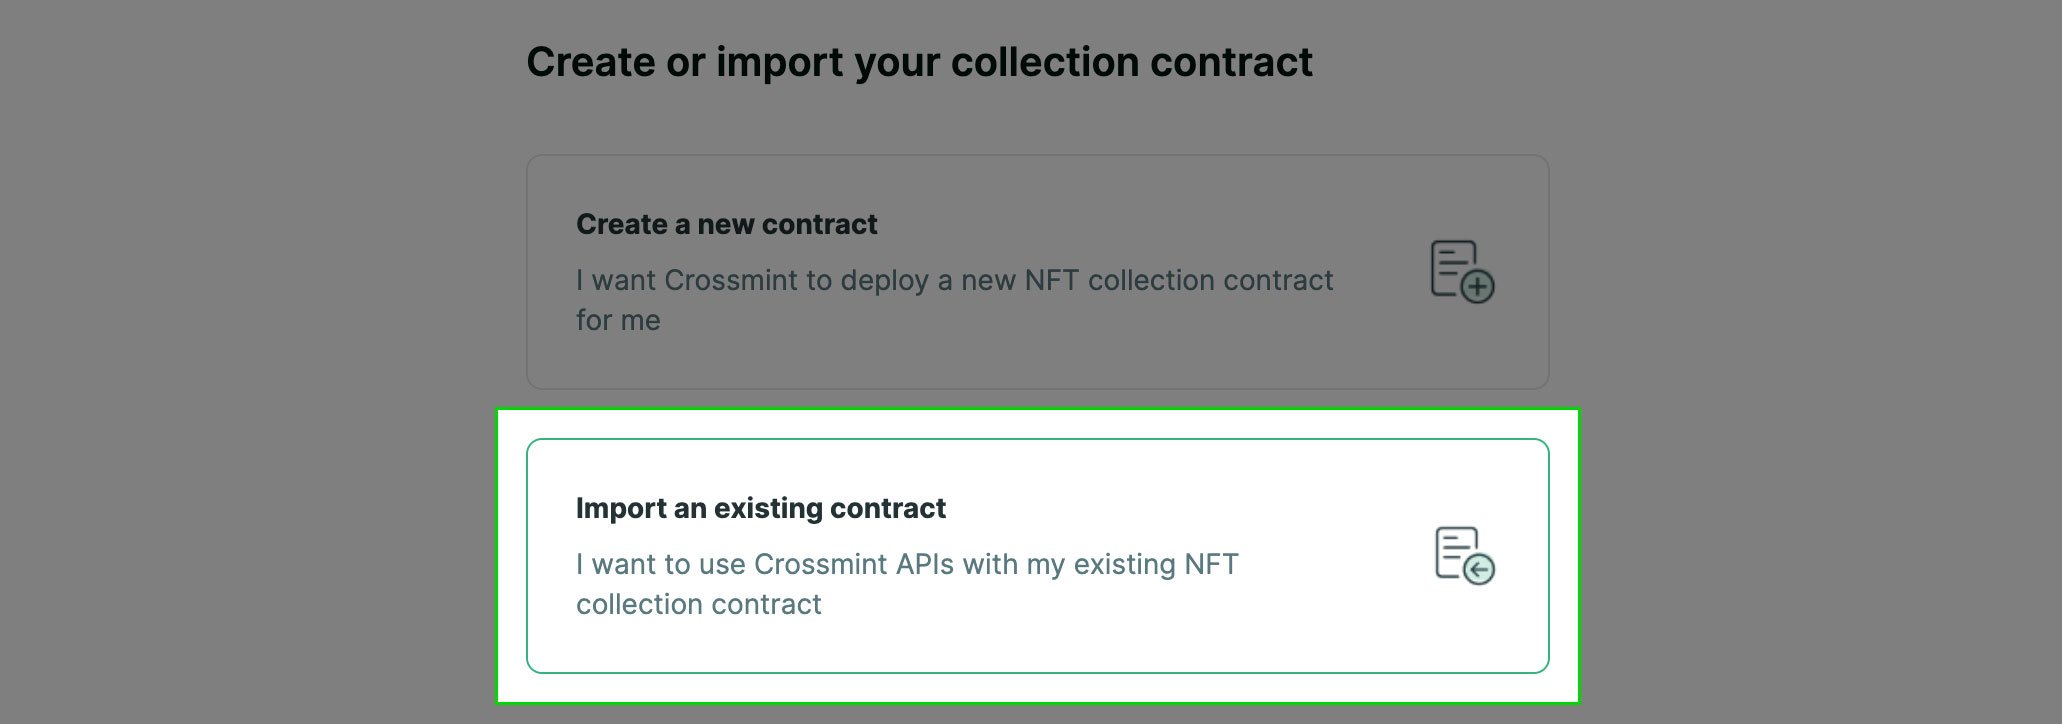 Remember, Crossmint has staging and production [environments](/introduction/platform/staging-vs-production). When working in the staging environment, choose the mainnet name. For example, if your contract is on the Polygon Amoy testnet, select Polygon.
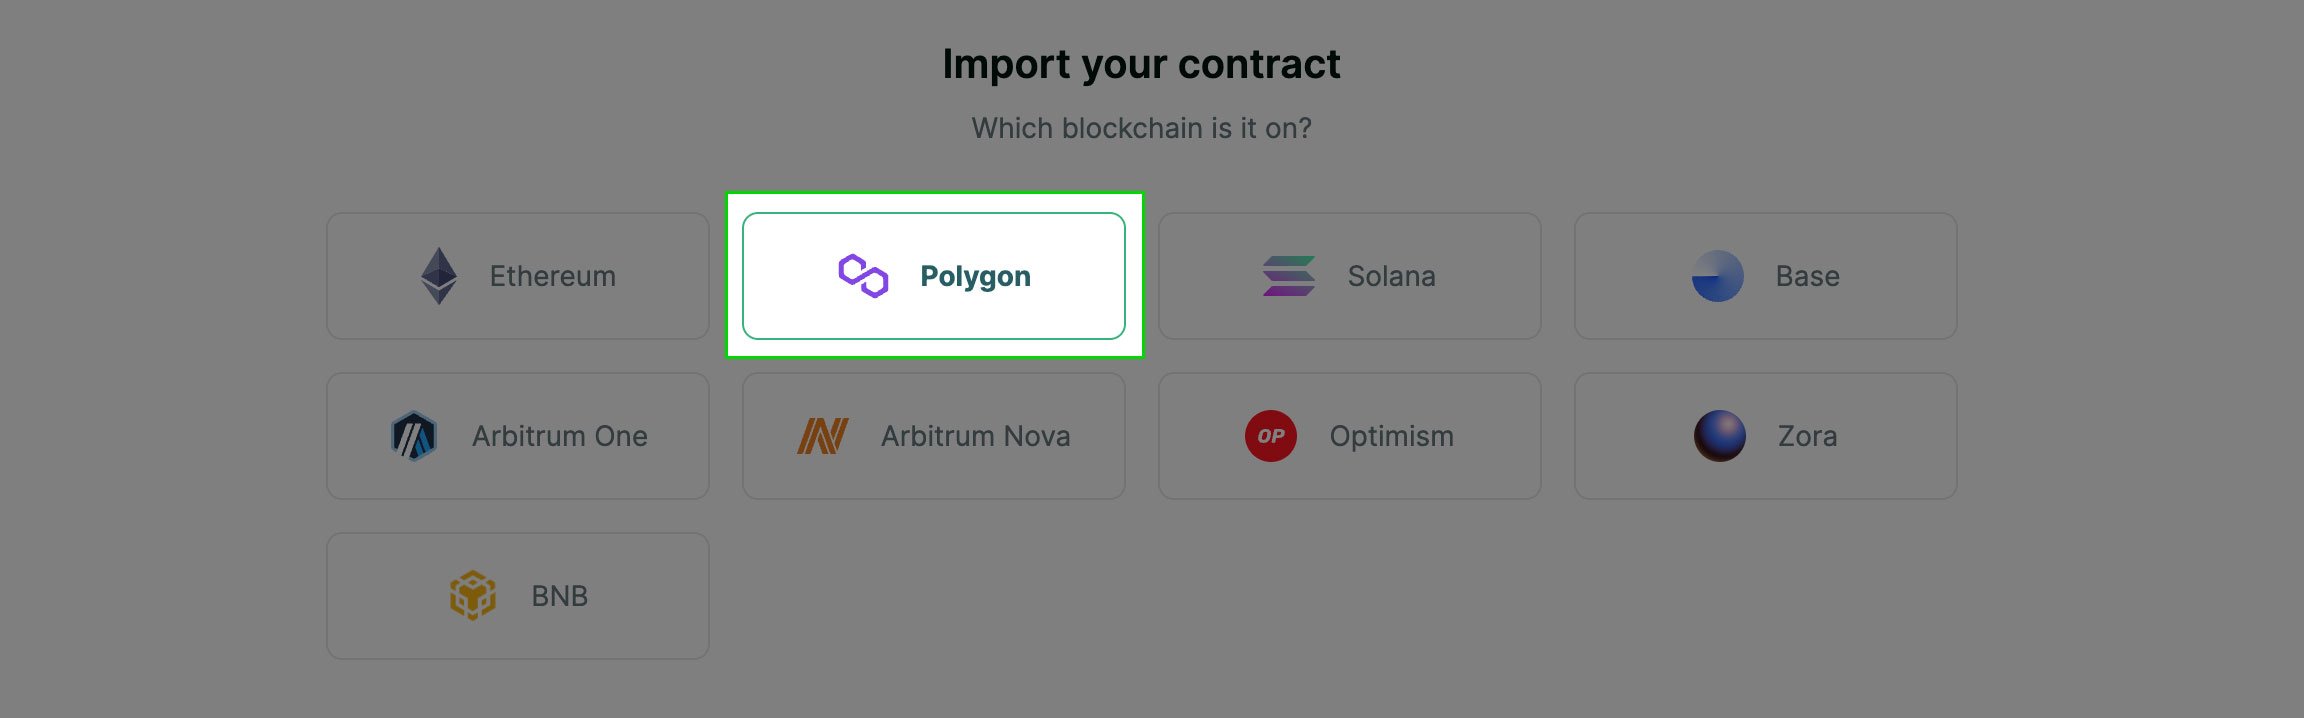
 Enter the address of your contract and the console will determine the contract type automatically.
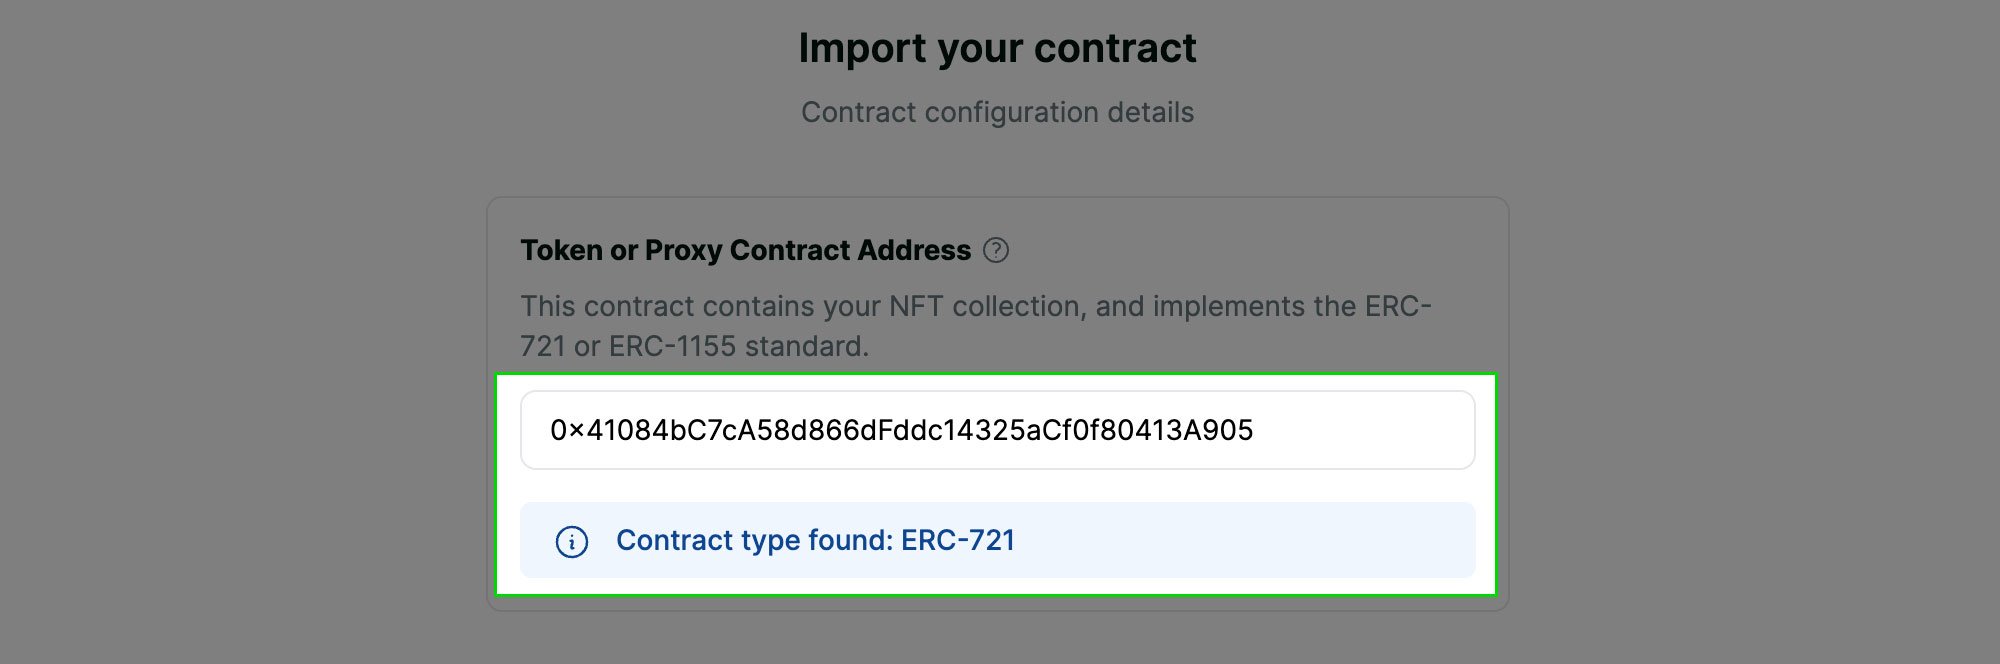 Notice in the screenshot that the example has the same contract address that was entered in previous step. This indicates a basic setup where the purchase function is within the regsitered NFT contract. The only reason to change this is if purchases should be sent to a different contract address that is not the same as the NFT contract.
Most developers do not need to change this. If you are unsure, leave it as is. Transparent upgradeable contracts also do not need to use this setting and should use the beacon address in the previous step.
Notice in the screenshot that the example has the same contract address that was entered in previous step. This indicates a basic setup where the purchase function is within the regsitered NFT contract. The only reason to change this is if purchases should be sent to a different contract address that is not the same as the NFT contract.
Most developers do not need to change this. If you are unsure, leave it as is. Transparent upgradeable contracts also do not need to use this setting and should use the beacon address in the previous step.
 As long as your contract is verified on the block explorer we can query the ABI automatically. If you have not verified your contract, you must enter the ABI manually.
 Unless you specifically deployed a contract that supports USDC you must leave the native currency selected. If you are unsure, leave it as is.
 If you selected the native currency in previous step this will be a very short list. If you have multiple mint functions in your contract that you want to accept payments for, you must register each one separately.
USDC mint functions typically are NOT `payable`. Change currency selector to USDC to populate mint function list with valid options.
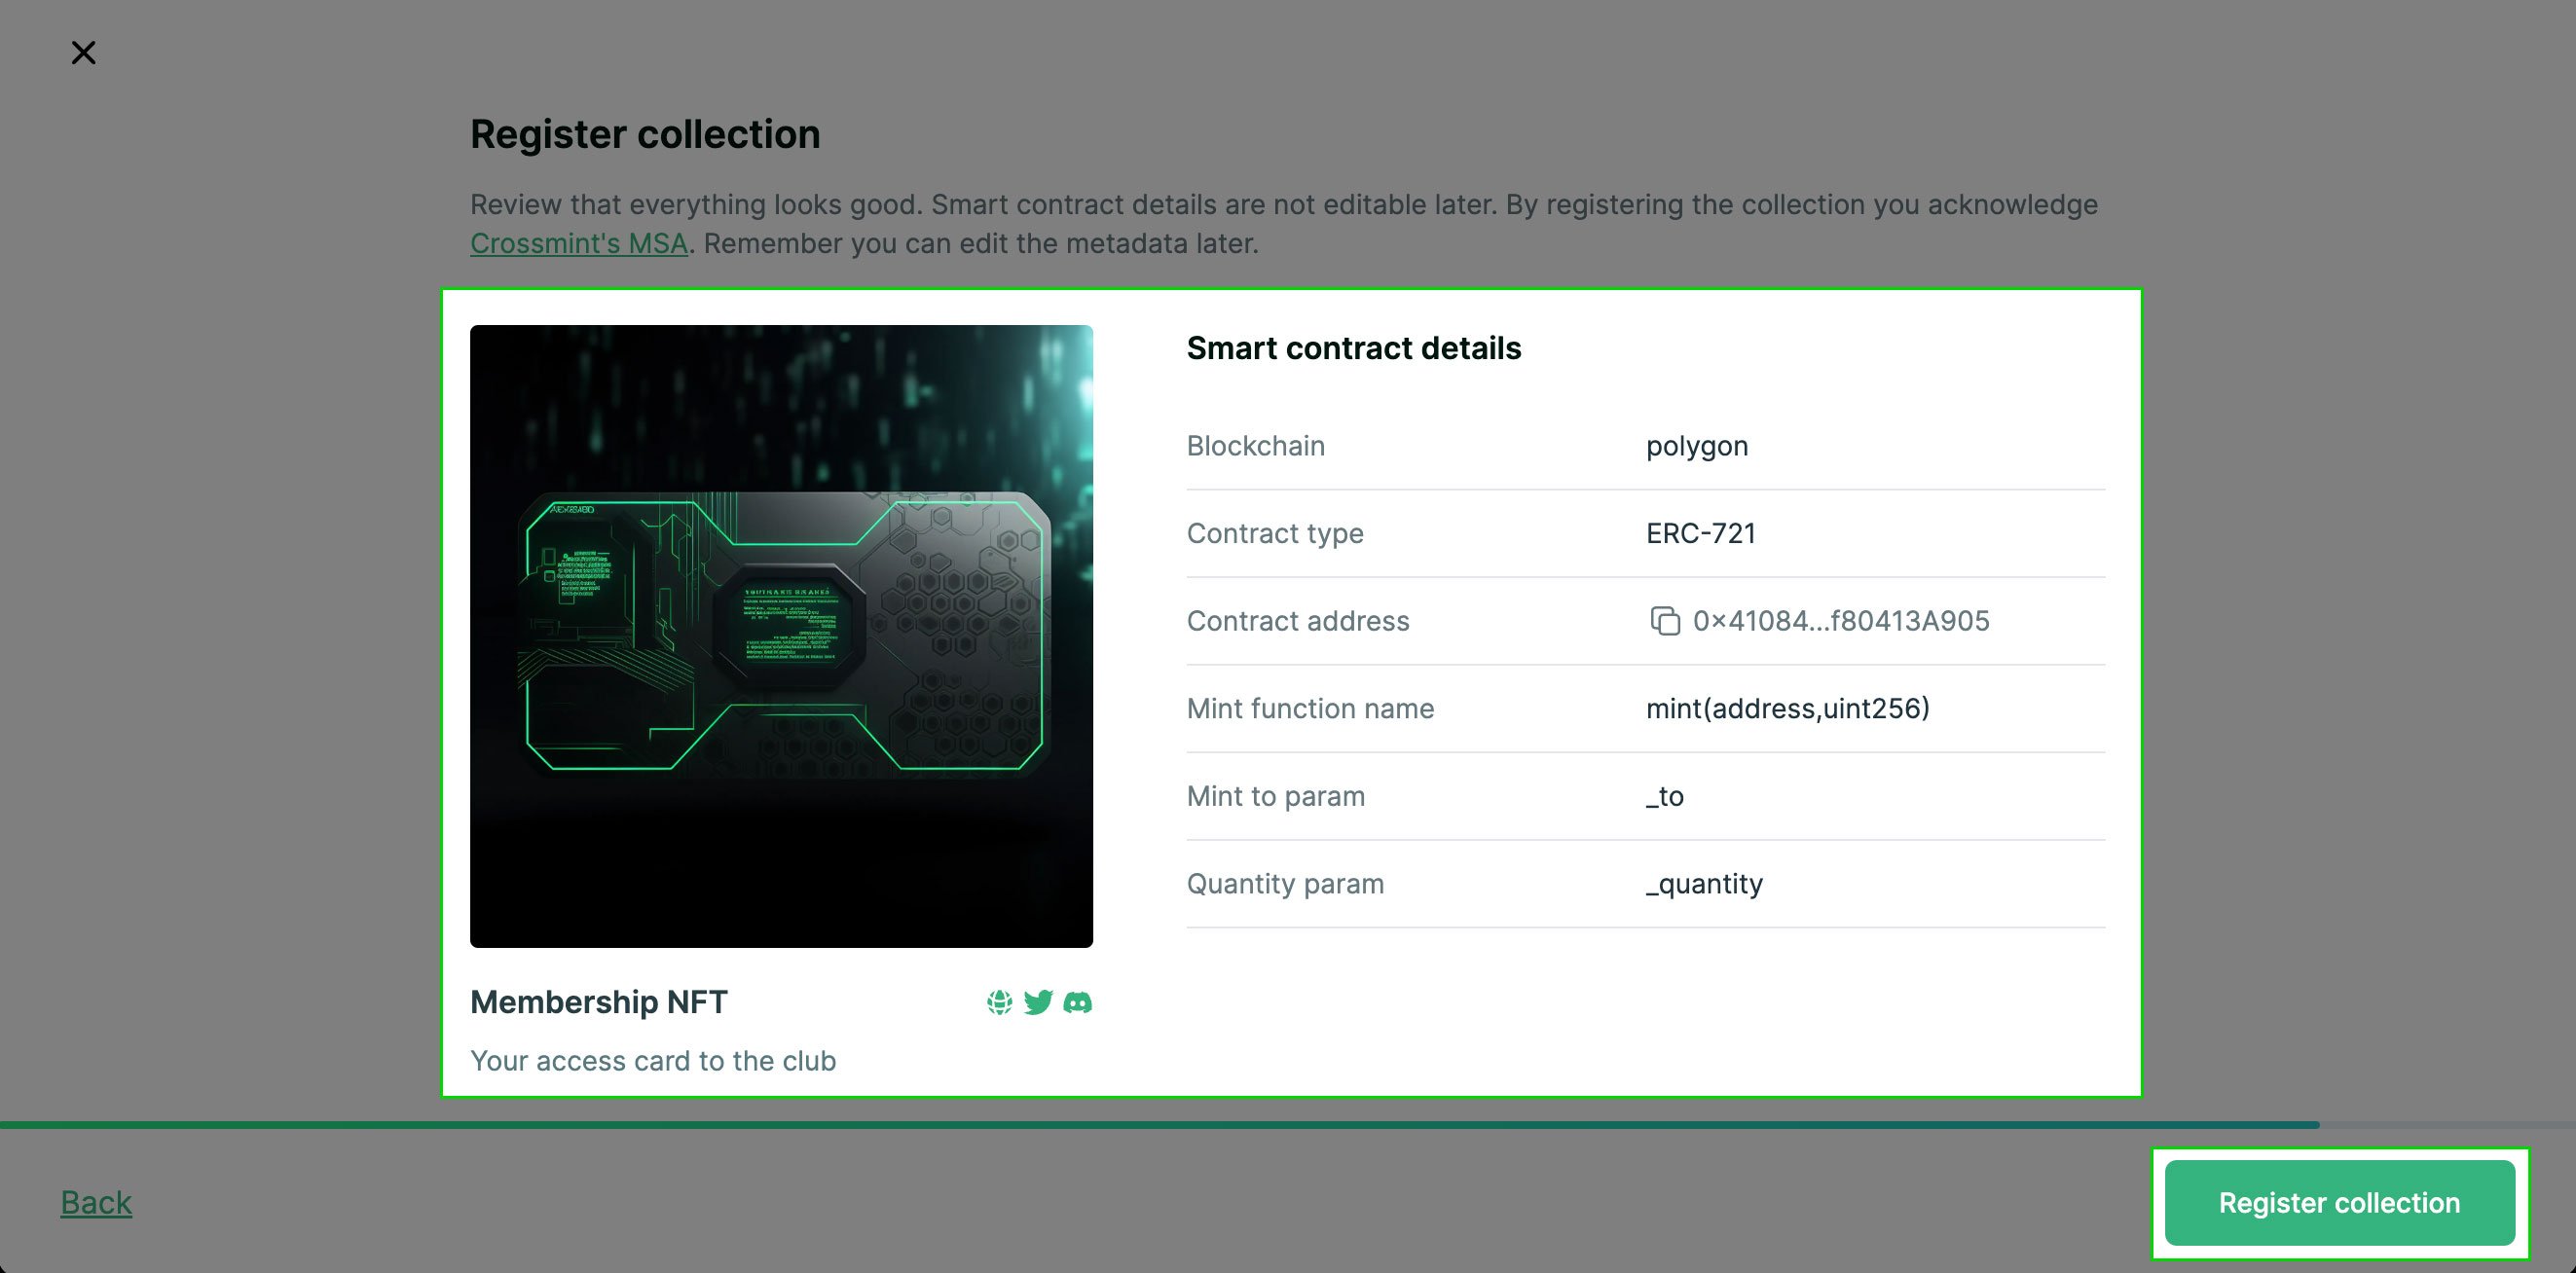
The mint function must accept an address parameter and mint to that address. If your mint function lacks this you'll need to deploy a new contract or modify your existing contract.
If you selected the native currency in previous step this will be a very short list. If you have multiple mint functions in your contract that you want to accept payments for, you must register each one separately.
USDC mint functions typically are NOT `payable`. Change currency selector to USDC to populate mint function list with valid options.
The mint function must accept an address parameter and mint to that address. If your mint function lacks this you'll need to deploy a new contract or modify your existing contract.
 After the mint function has been selected this will be a short list built from the function parameters of type `address`. If you have multiple options here ensure you select the correct one. Doing this incorrectly will result in the purchased NFTs being sent to the wrong address and they likely will not be recoverable.
 This will be a short list built from the function parameters of type `uint256`. If you have multiple options here ensure you select the correct one. Doing this incorrectly will result in the NFT checkout tools not being able to properly mint the correct quantity of NFTs.

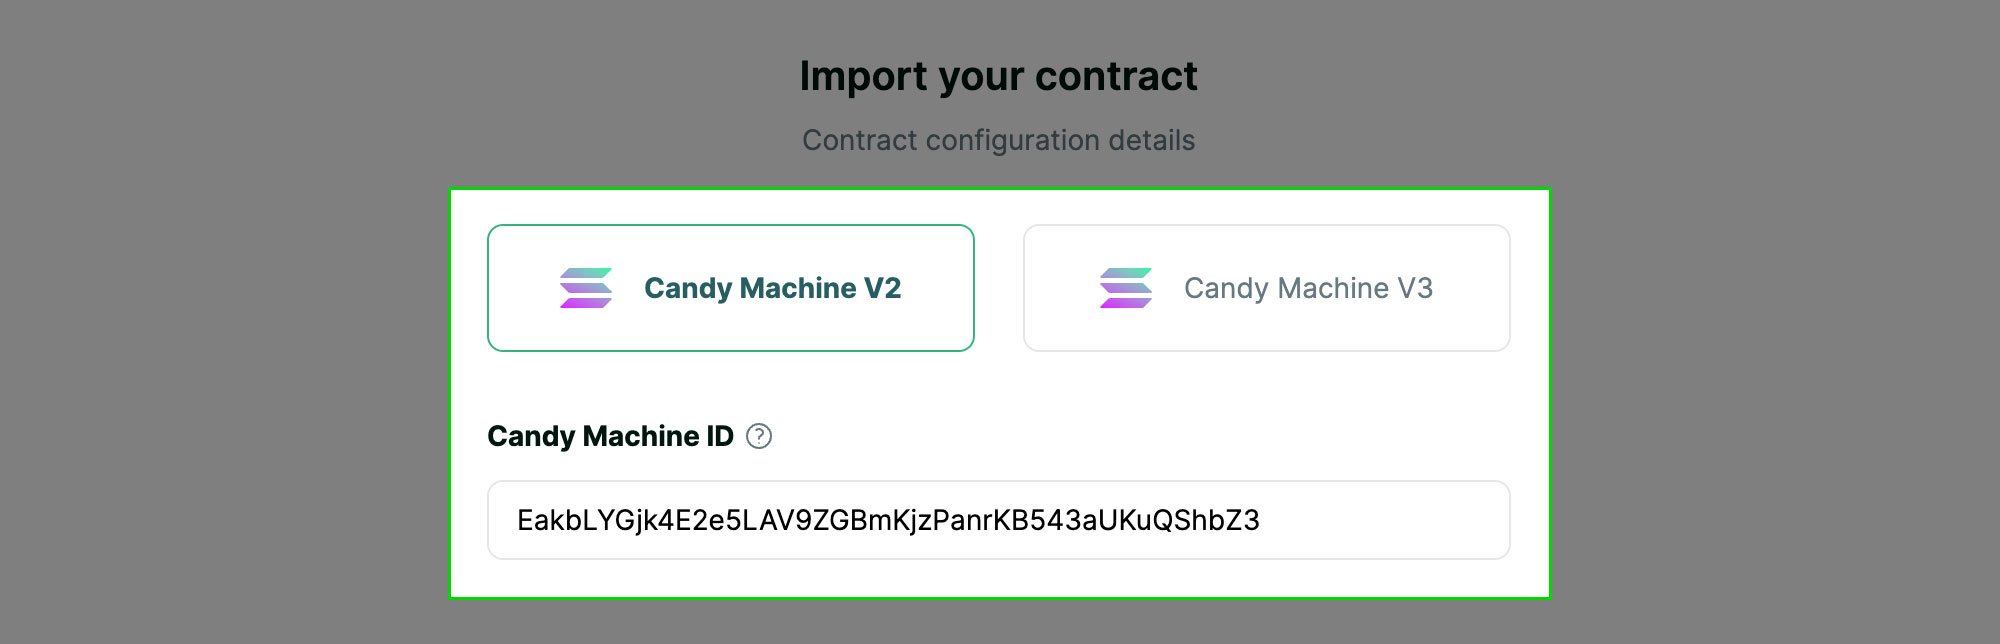
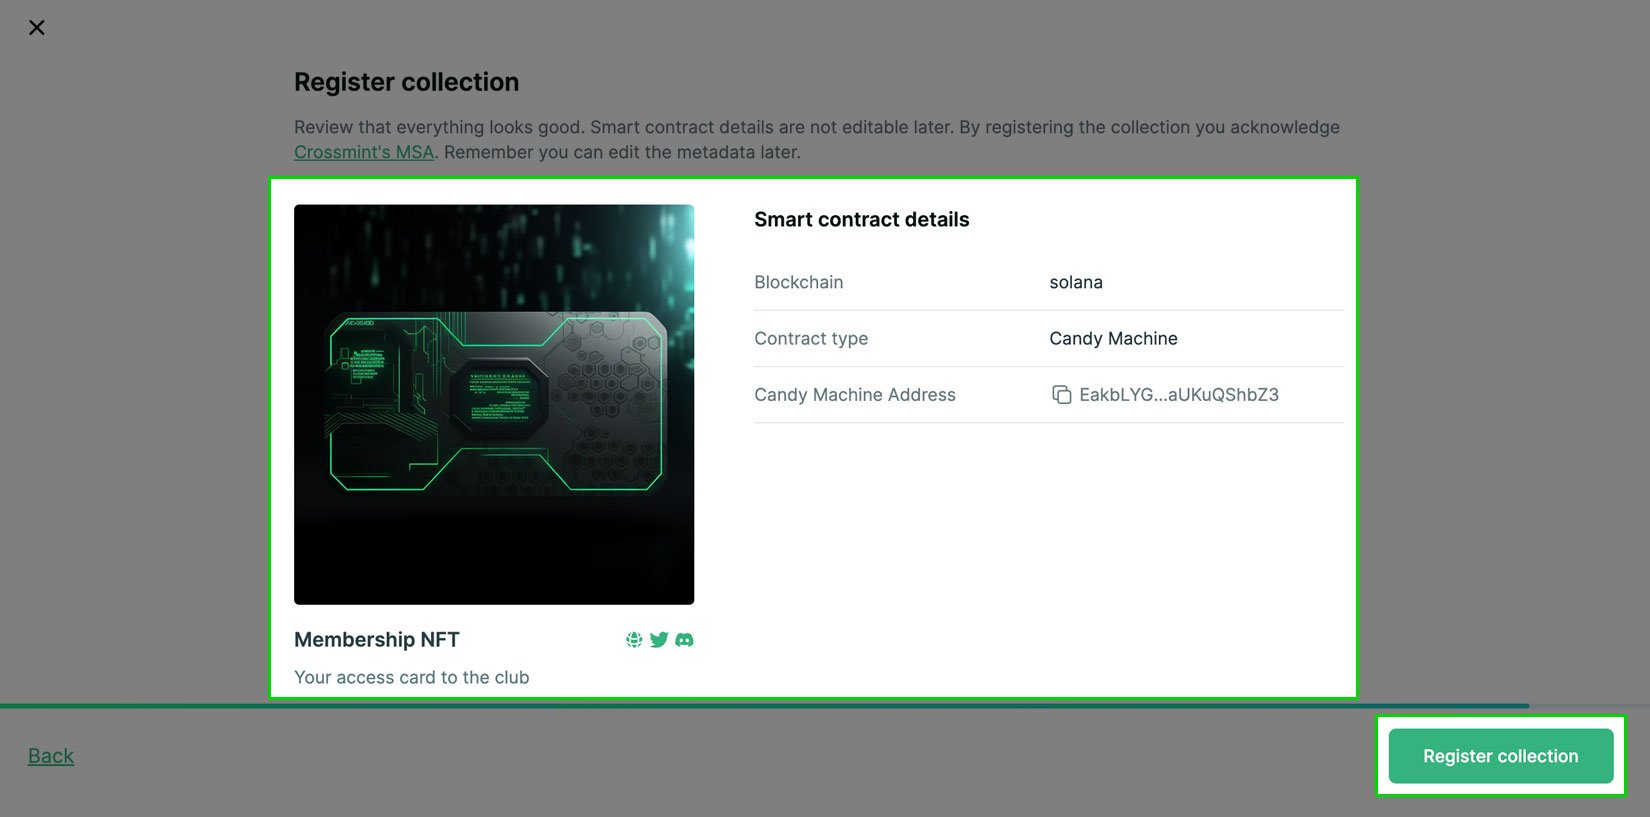
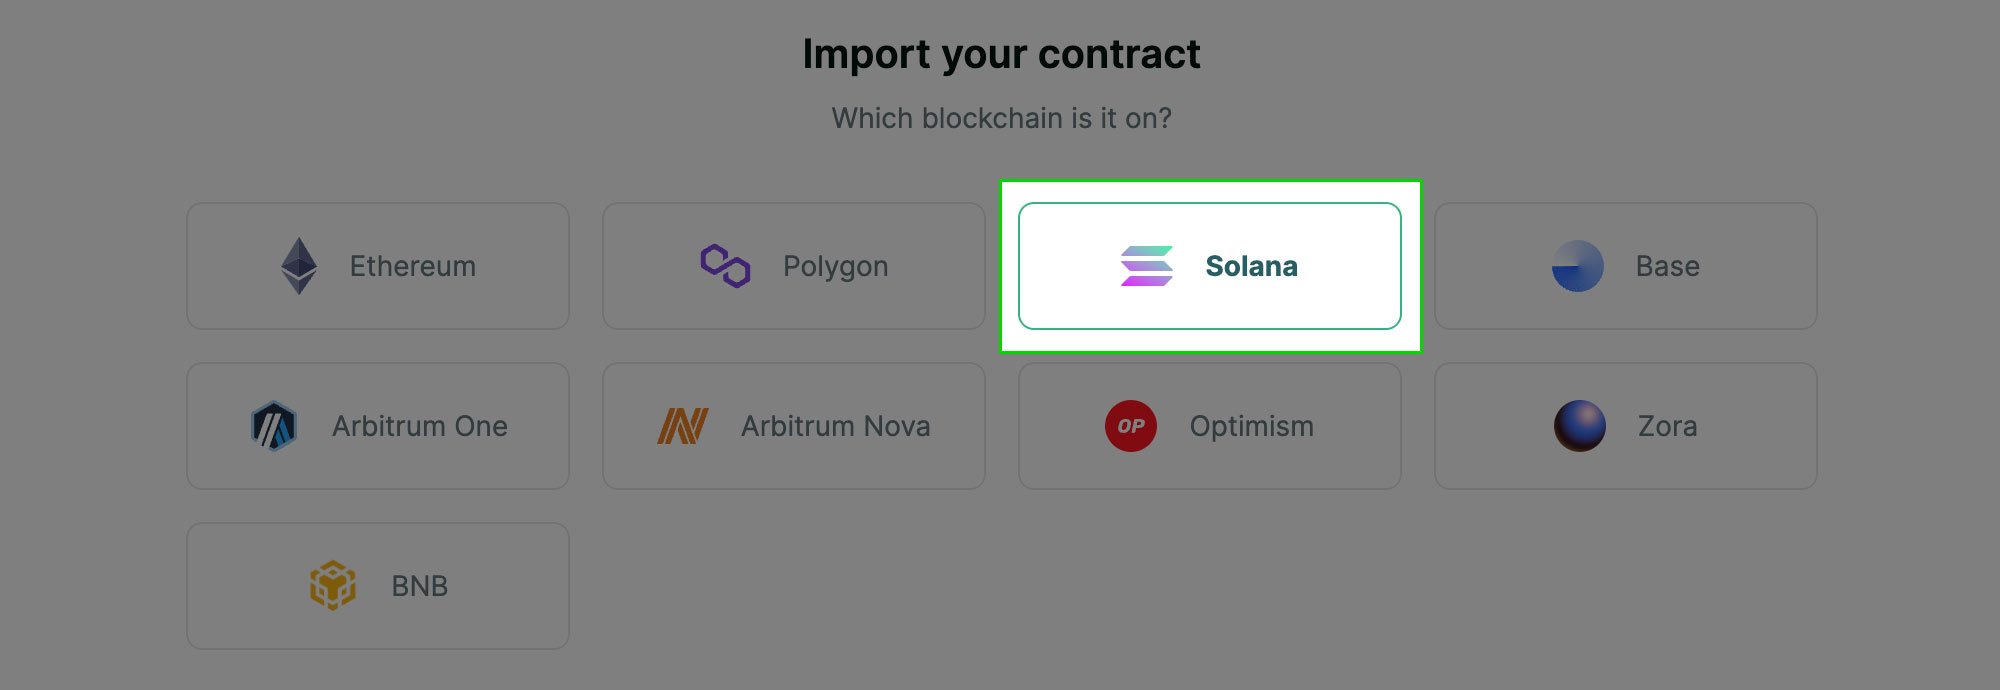
 Crossmint supports Candy Machine v3. The initial setup is the same as above. The only difference is selecting Solana for the blockchain and entering a candy machine ID instead of a contract address.
 Find the ID in the `cache.json` file in the folder where you deployed your Candy Machine