> ## Documentation Index
> Fetch the complete documentation index at: https://crossmint-wallets-docs-2-5.mintlify.site/llms.txt
> Use this file to discover all available pages before exploring further.
# Quickstart ⚡
> Add a digital asset checkout button to a demo app in under 5 minutes
 ## Introduction
In this guide, you will build a demo site with nextjs and Crossmint's payment button. You can follow step-by-step below or simply [clone this repo](https://github.com/Crossmint/pay-button-demo) to be up and running immediately.
### Integrate the Payment Button
## Introduction
In this guide, you will build a demo site with nextjs and Crossmint's payment button. You can follow step-by-step below or simply [clone this repo](https://github.com/Crossmint/pay-button-demo) to be up and running immediately.
### Integrate the Payment Button
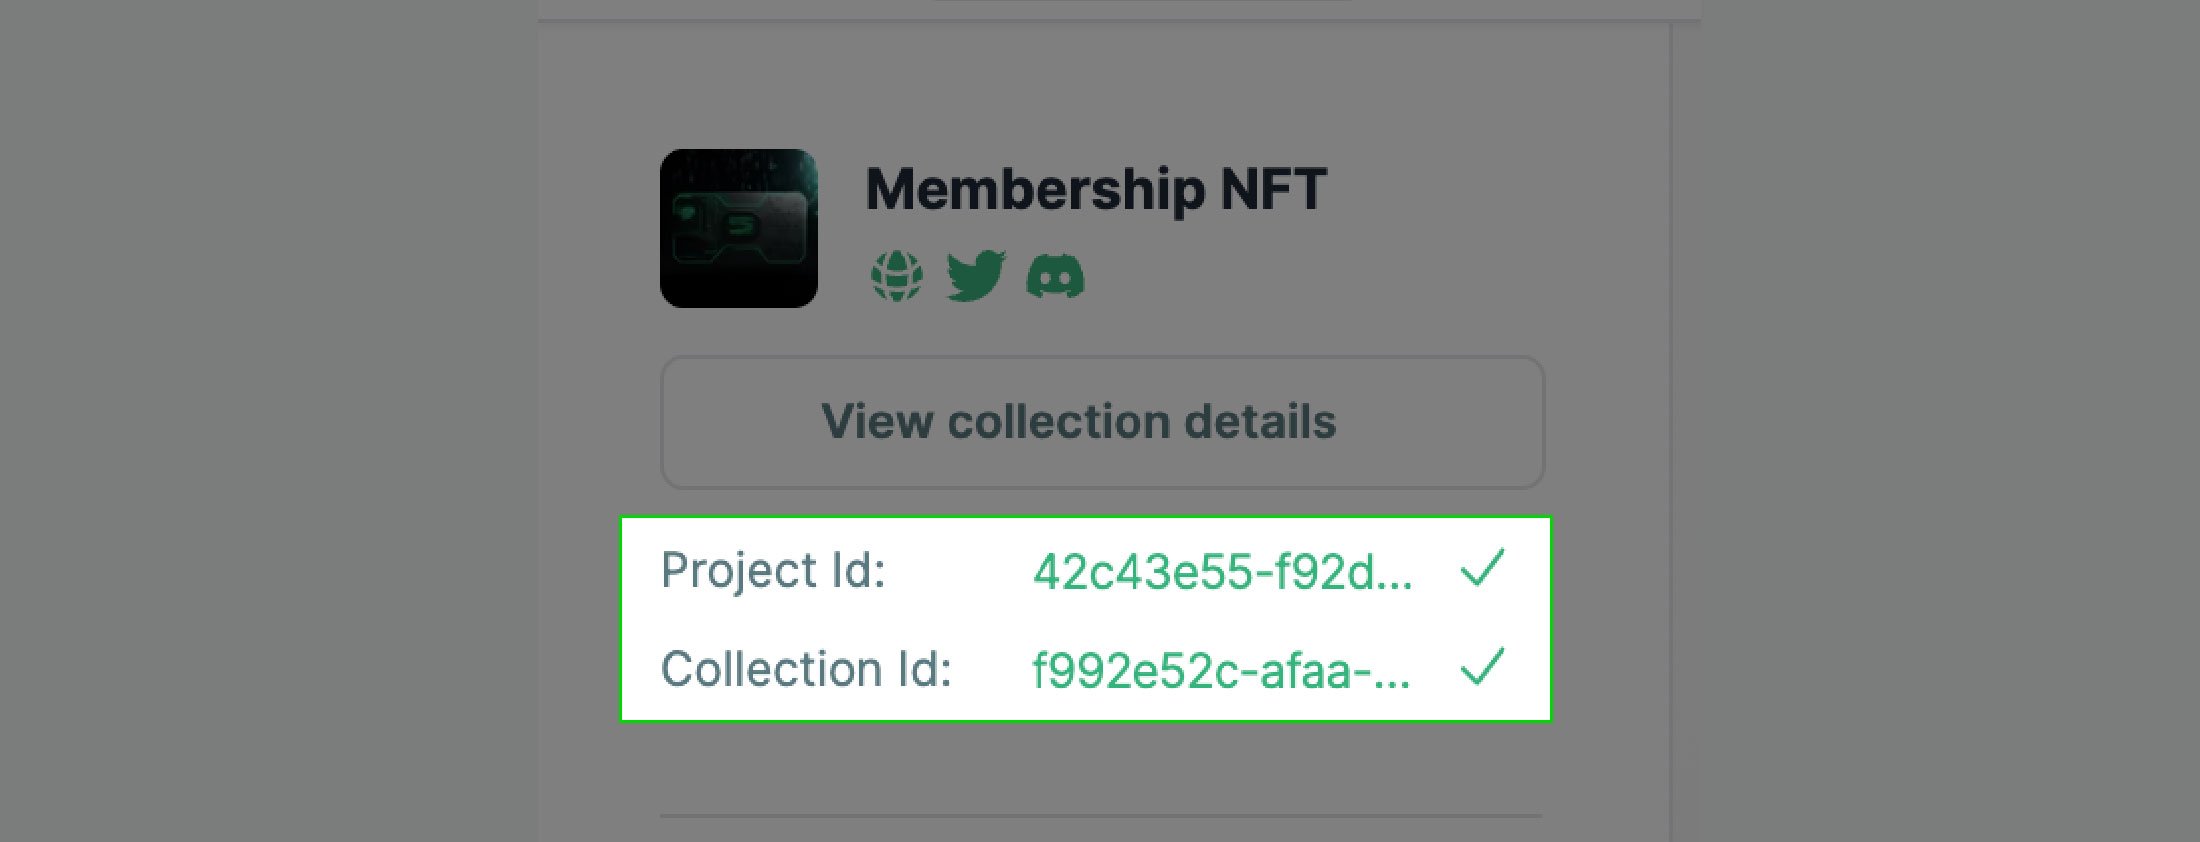 Configure your environment variables with the values from Step 1.
These values are not sensitive and can be used client-side.
```git .env.local theme={null}
NEXT_PUBLIC_PROJECT_ID="_YOUR_PROJECT_ID_"
NEXT_PUBLIC_COLLECTION_ID="_YOUR_COLLECTION_ID_"
NEXT_PUBLIC_ENVIRONMENT="staging"
```
Replace the entire contents with the following:
```tsx EVM theme={null}
"use client";
import { CrossmintPayButton } from "@crossmint/client-sdk-react-ui";
export default function Home() {
const projectId = process.env.NEXT_PUBLIC_PROJECT_ID as string;
const collectionId = process.env.NEXT_PUBLIC_COLLECTION_ID as string;
const environment = process.env.NEXT_PUBLIC_ENVIRONMENT as string;
return (
Configure your environment variables with the values from Step 1.
These values are not sensitive and can be used client-side.
```git .env.local theme={null}
NEXT_PUBLIC_PROJECT_ID="_YOUR_PROJECT_ID_"
NEXT_PUBLIC_COLLECTION_ID="_YOUR_COLLECTION_ID_"
NEXT_PUBLIC_ENVIRONMENT="staging"
```
Replace the entire contents with the following:
```tsx EVM theme={null}
"use client";
import { CrossmintPayButton } from "@crossmint/client-sdk-react-ui";
export default function Home() {
const projectId = process.env.NEXT_PUBLIC_PROJECT_ID as string;
const collectionId = process.env.NEXT_PUBLIC_COLLECTION_ID as string;
const environment = process.env.NEXT_PUBLIC_ENVIRONMENT as string;
return (
)
}
```
```tsx Solana theme={null}
/*
For candy machine integrations, the mintConfig object is optional.
Only include it if your candy machine uses minting groups:
mintConfig={{
mintingGroup: "YOUR_MINTING_GROUP_NAME"
}}
*/
```
```bash theme={null}
pnpm dev
```
**That's it!** 🎉
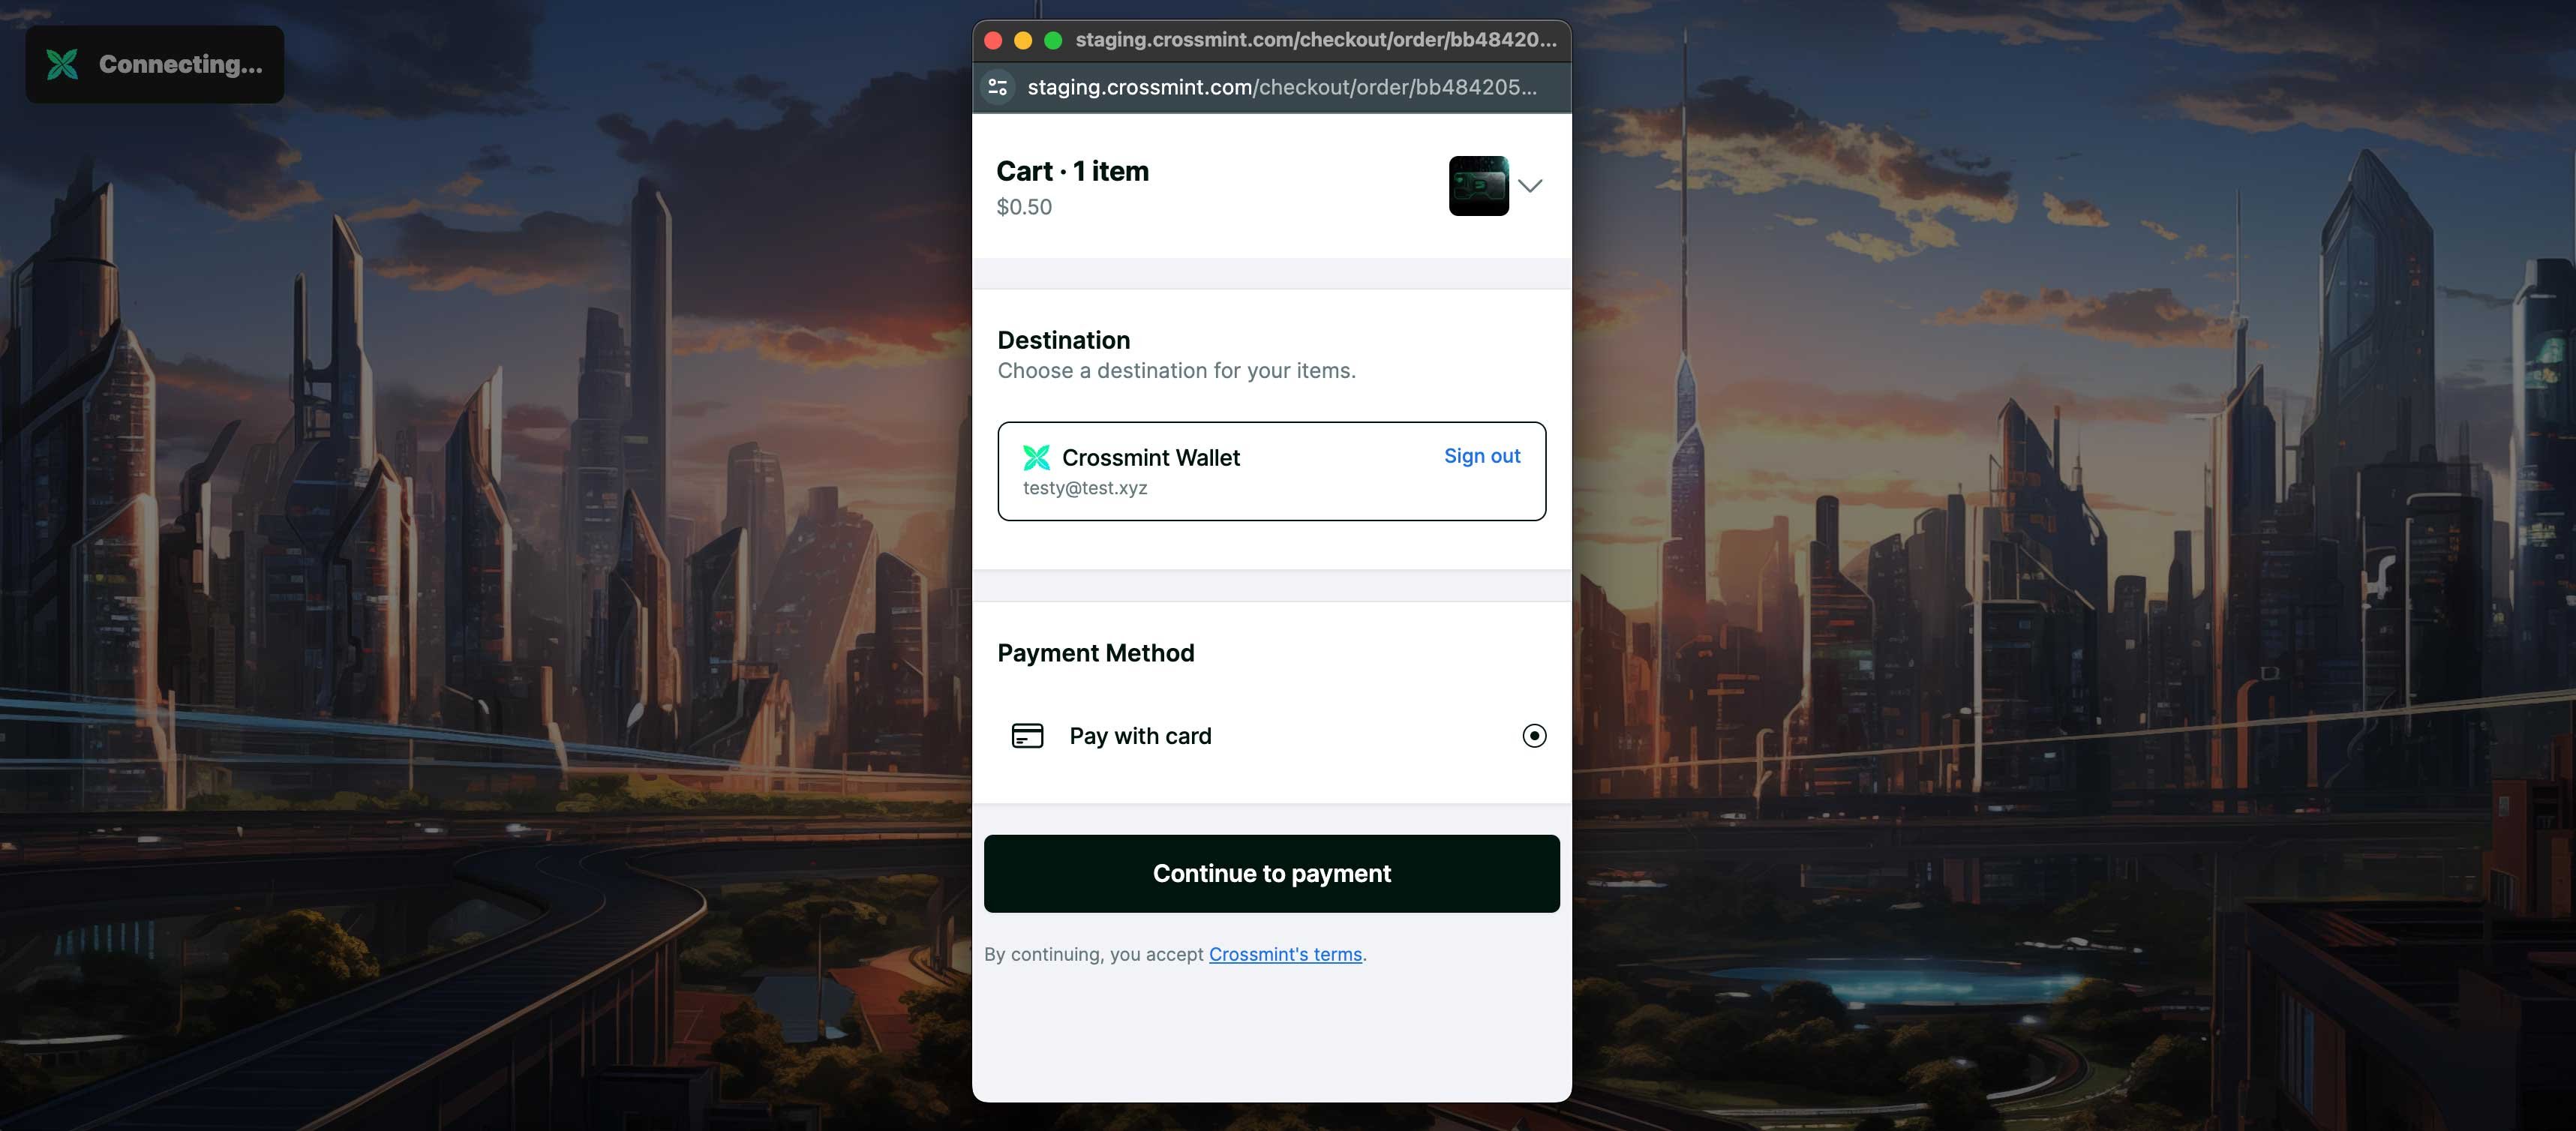
Open the app in your browser with the url `http://localhost:3000/`. The Hosted Checkout Button will appear in the top left of the browser. You can click it to open the checkout popup and ensure everything is configured properly.
## Next Steps
Now you have a working demo of the Hosted Checkout. If you're ready to dig into the details of the configuration options and advanced features, check out the following sections: